Plant your Spring bulbs in Autumn!

Spring bulb – Tulip

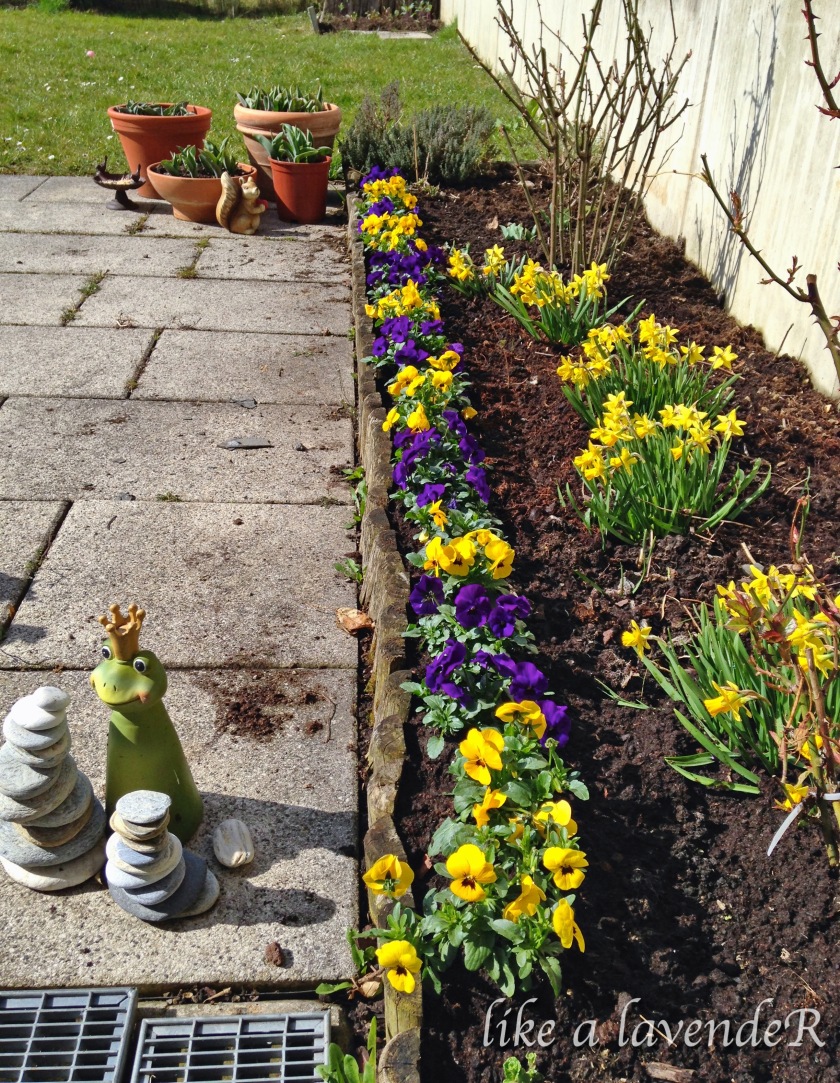
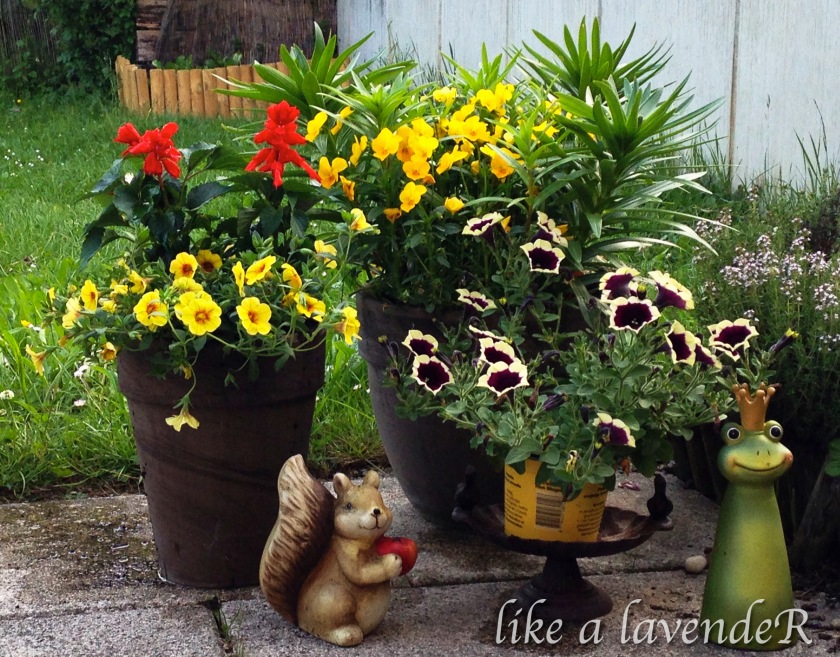
To make your patio look colourful during spring, start planting your spring bulbs now during fall!  It could be crocus, tulips, hyacinth, daffodils…

cover1

Last Autumn I tried with tulip bulbs and it was lovely to watch them grow.

I planted different colour tulip bulbs in different height of containers for clear visibility of all the flowers.

You can also mix different types of bulbs which blooms weeks apart to have a colourful bloom throughout the spring. Note that the depth of placing the bulbs vary from plant to plant. Daffodils should be placed 4-5 inches deeper, tulips 3-4 inch and crocus 1-2 inch into the soil.
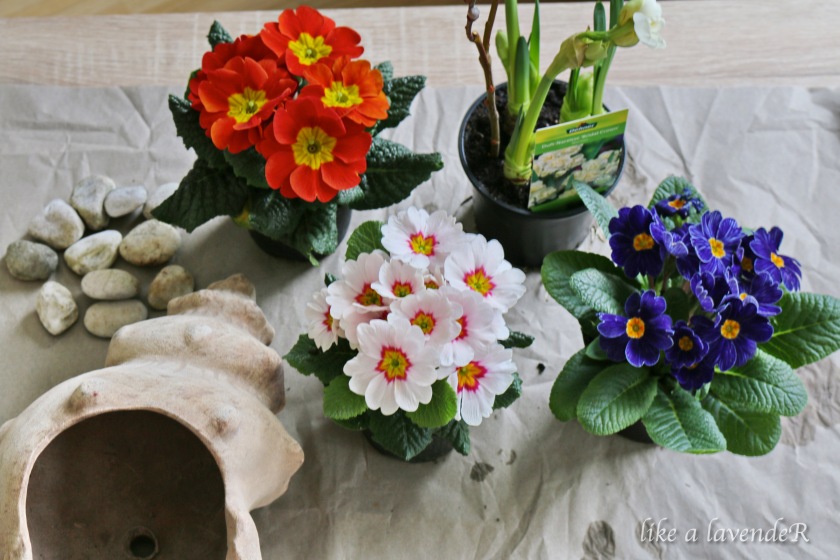
Procedure:

plant_tulip_bulbs

  1. in a container add potting mix till the height suitable for placing the bulbs.
  2. place tulip bulbs 4 inch below the top end of the soil keeping the tapered bulb end facing upwards
  3. cover the bulbs with remaining soil
  4. keep the soil moist during the fall
  5. in winter (where the winter is severe/snows) move the containers to a cool place. I placed mine in the cellar away from heaters
  6. keep the containers out beginning spring.


buds
Budding in March
fullbloom
Full Bloom in April

Once the flowering was over and the plants dried out i removed the bulbs dried them throughly and stored in a cool and dark place for next year.

Isn’t it beautiful? Then what are you waiting for! Rush to the nearest garden nursery and plant the bulbs immediately …

Happy Gardening!

Tschüß

Reshma.


My Garden

I would like to share few pictures of my small garden. These are from last year. This year I will not be doing much gardening as we are heading back home and I will be busy with packing.

FullSizeRender 13-1

IMG_3295-1

This is during early spring where you can see welcoming daffodils, pansy and growing tulips.

IMG_3514-1

Love these colours! Purple Gladiolus and orange Lilies.

IMG_3505-1

pic 1 – Red Geraniums and white — welcoming at the door.

pic2 – Arrangement of plants in a basket for gifting.

Last year from spring to early Autumn I didn’t buy any lettuce from the store. Even my neighbours enjoyed them. The container was little overcrowded though.

I even tried growing tomatoes, beetroot, zucchini and cucumber but was not very successful. Got a very few yield. I have to learn a lot about vegetable gardening.

IMG_3509-1
My herb garden

Fresh herbs, from right  Thyme, mint, rosemary, oregano and chives (not visible). These herbs comes to a good use whenever my husband suddenly thinks of Barbequeing 🙂

IMG_3703-1
Raspberries

Raspberry plant grow very fast. This yield is from the first year of planting. Kids enjoy plucking them. But be careful with thorns.

FullSizeRender 10-1

That was the tour of my garden. Hope you enjoyed.

Happy Gardening.

Tschüss!

Reshma

Yay yay!!! Spring is around the corner..

DIY Spring decoration

I am so so desperately waiting for Spring. Feels like winter is never ending!

Crocus, Primrose, Pansy, Bridal crown, Hyacinth, Summer Snowflake notifies departure of winter and welcoming spring. Looking at the colourful blooming crocus and the budding plants  makes me jovial and energetic. Few days back I pruned all the old dried stems of plants in my garden and made place for my daffodils and tulips to grow well and be admired. End of February is a good time for pruning.

I like visiting plant nurseries. It’s quite interesting for me to see different types of plants every season. I can spend hours together just staring and admiring them. Gardening is like a therapy to me. It makes me happy and refreshed!

final-1

I bought few colors of primrose and bridal crown daffodil and I will show you a DIY on how to pep-up your house corners or the centre table. It’s very simple:

All you need is –

1 - decorative pot
1 - Primrose plant
1 - Bridal crown plant
few pebbles (for the bottom of the pot and few to decorate)
soil (enough to fit your pot)
moss (optional)
Pussy willow stem (for decoration or anything of your choice)

items-1

Steps :

  • place few pebbles at the bottom of the pot
    
 step1-1
  • add half of the soil allowing space for the plant
  • place the plant in the pot
 IMG_4802-1
  • cover with rest of the soil
  • insert the decorative stem in the pot
  • cover the soil with moss or pebbles
  • water the plant throughly until the soil is completely wet
  • place it in a place where it gets sufficient light
  • your DIY spring decorative pot is ready to pep-up your house
  • as my pot is small and due to heaters I water them everyday


end-1

I arranged the rest of the plants in another basket.

basket1-1

I hope you also try and enjoy doing my DIY spring decoration at home.

Happy Spring!

Tschüss!

Reshma…